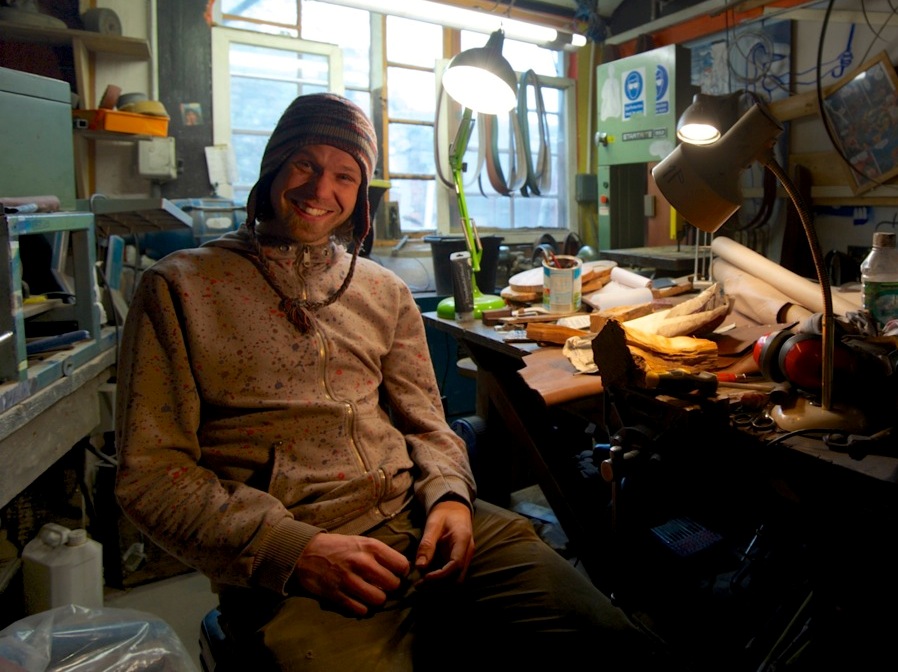
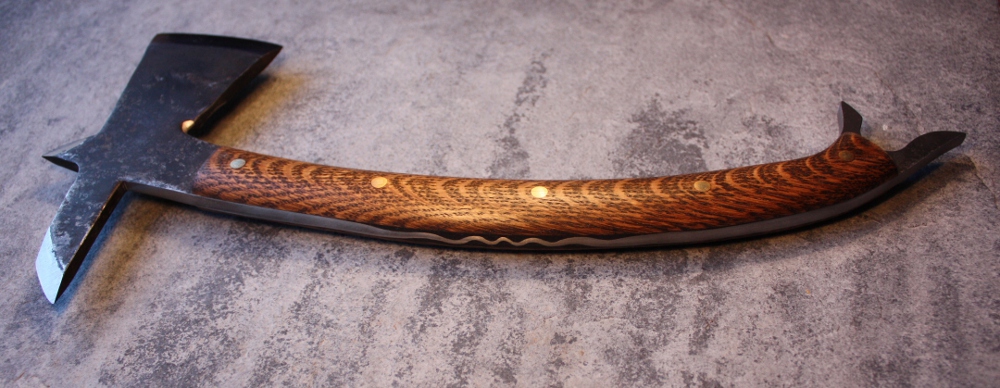
Just handed over this custom made Full Tang Throwing Tomahawk. I designed it to be a strong practical tool for chopping wood and throwing at a target.
Materials - Exra tough High carbon spring steel made in sheffield. English oak scales with a strong straight grain with nickle silver and brass rivets.
Materials - Exra tough High carbon spring steel made in sheffield. English oak scales with a strong straight grain with nickle silver and brass rivets.
how i made it
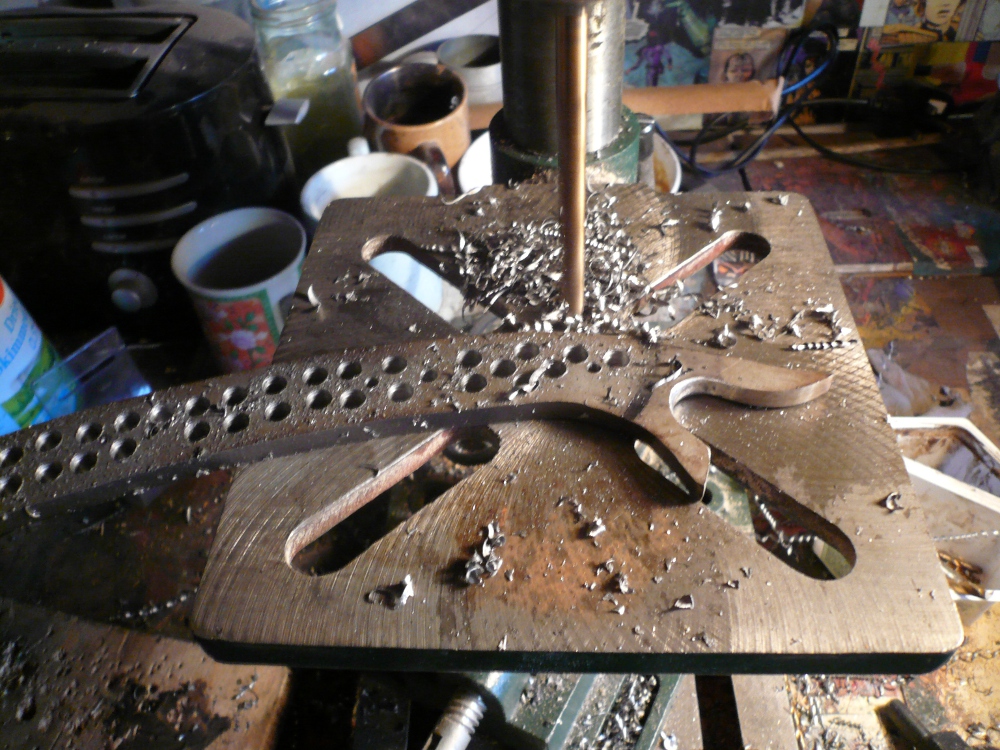
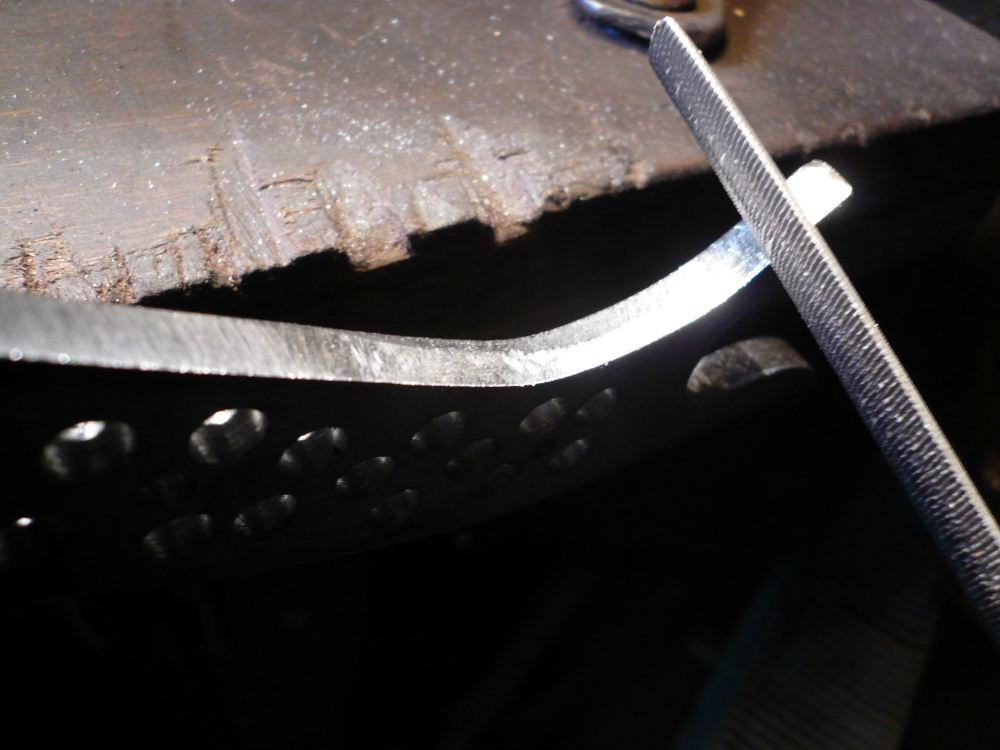
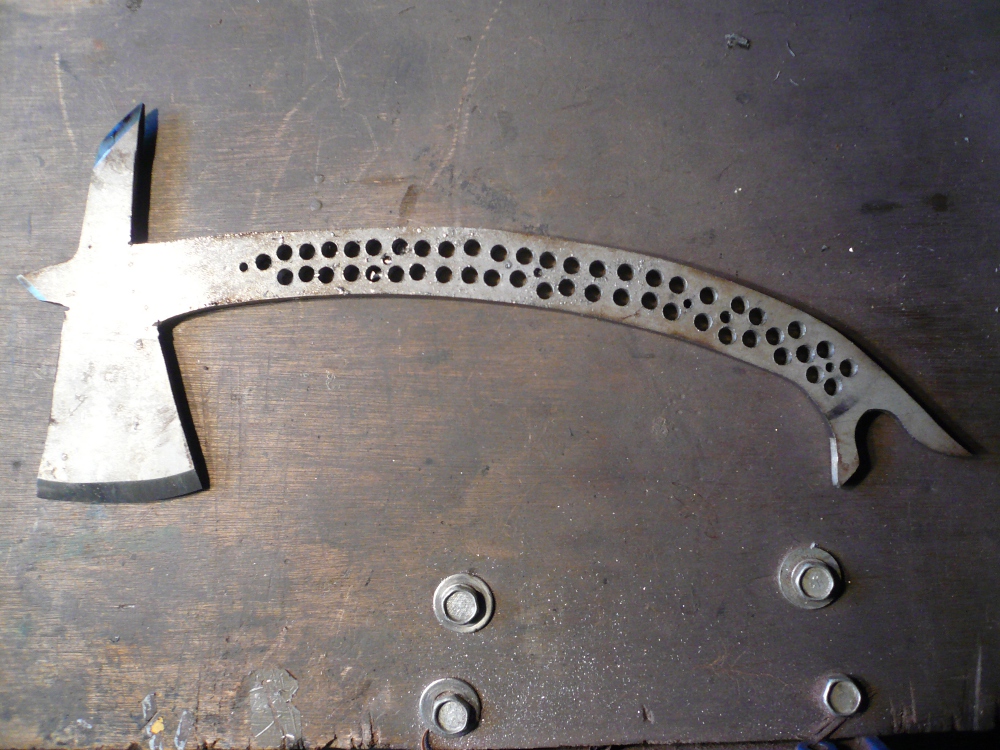
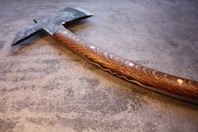
| The advantage of a full tang tomahawk is the handle strength and sharpened handle butt. Which ever way this shape lands it will stick in. As a useful wood chopping tool the hook at the bottom of the handle gives a secure grip and the spike on the head gives extra weight to each blow. I've drawn out the shape here and choppped it out with my angle grinder. Its 6.5mm EN42 Carbon steel. Tougher than stainless. Then I tidied up the shape and drilled out the handle to improve the balance. | 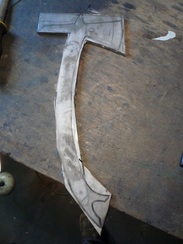
|
| 
| 
|
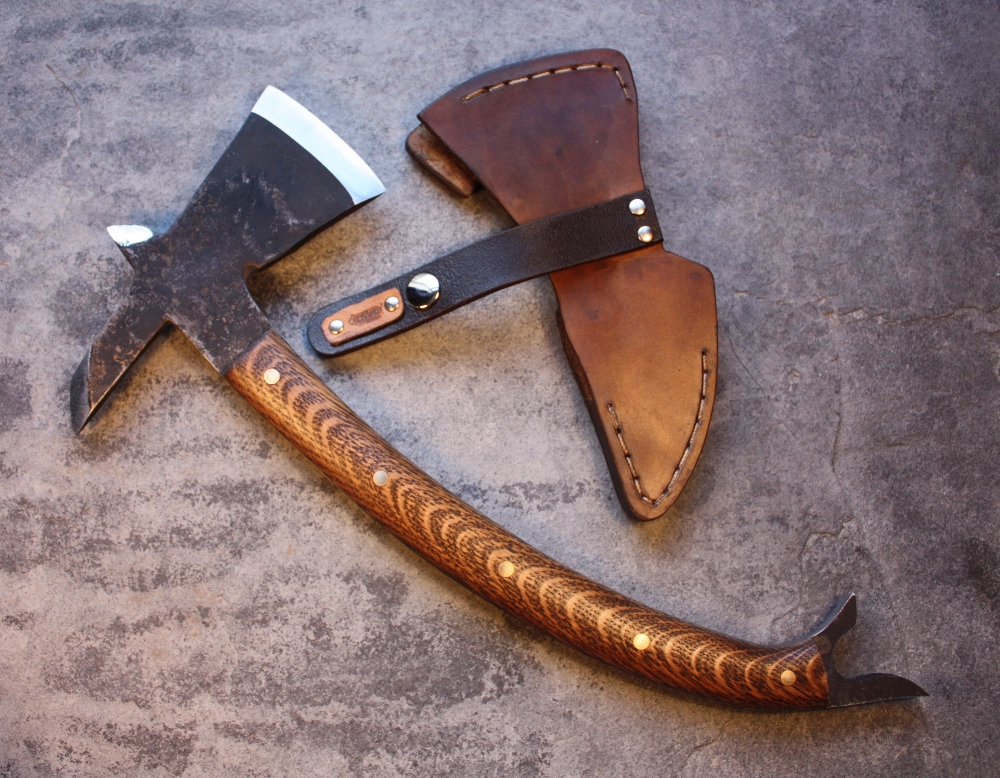
| Using a selection of hand files, I shaped the spine into my distinctive Wave. This is the thickest guage metal I've fileworked and it certainly needed some muscle! Then the edges were ground on then hardened to 58 Rockwell then tempered. I selected oak for the handle as its the toughest wood I know - especially with such a straight grain. I found it a few years ago in a skip and was saving it for just this sort of project. | 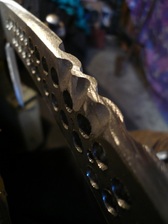
|
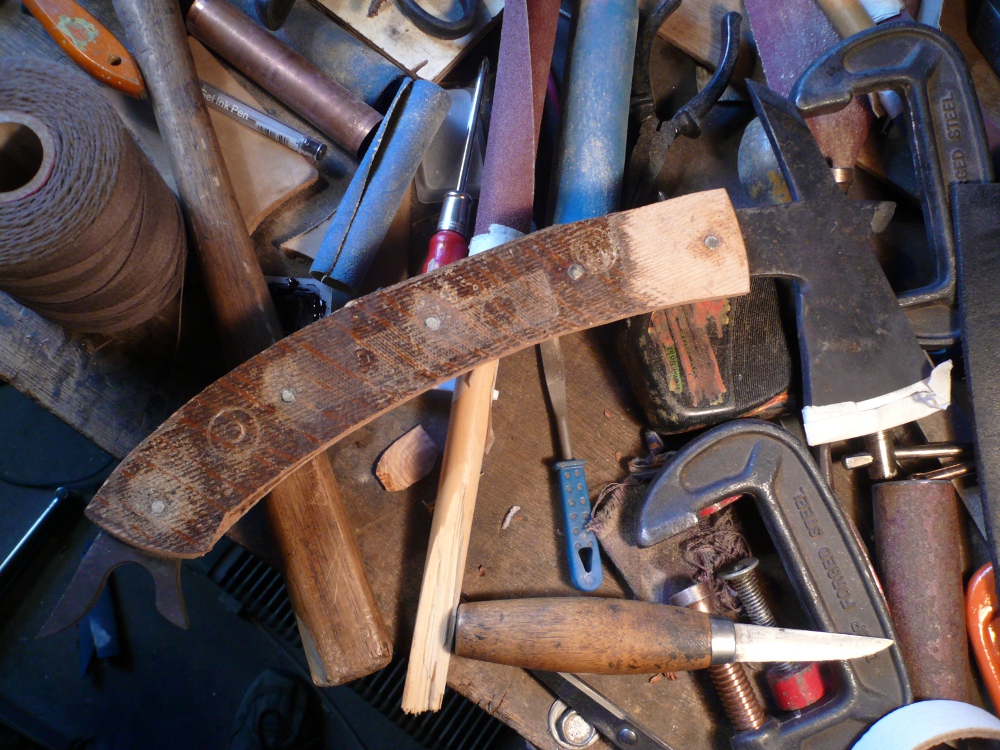
The sheath design was an interesting problem, it needed to protect 3 different edges, be securely fastened and be quick and easy to whip out. Then be easy to attach to a belt without having to undo your buckle. | I riveted on the scales and glued it with some slow drying exra strong epoxy resin. After 4 days drying I shaped the handle and sanded it to a 320 grit then added some stain to bring out the grain. 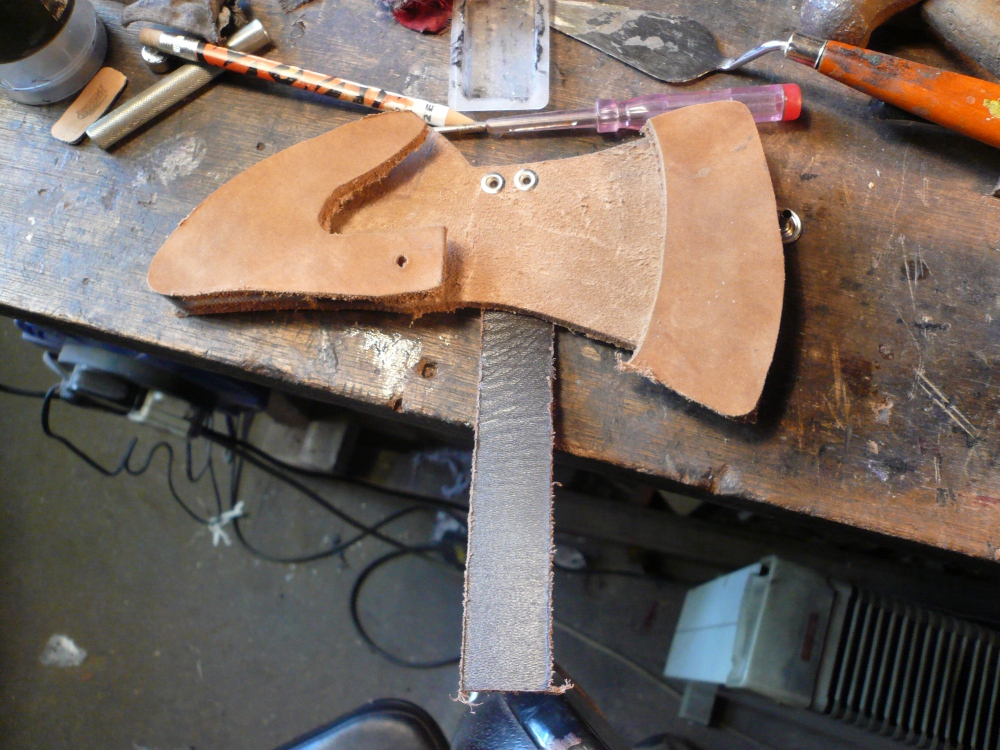
| 
I used really thick cow leather from Claytons down the road in Chesterfield. It needed to be easily slipped in and out so I gave it more room with a double welt. (The welt is the bit sandwiched between front and back.) |
| Heres both sides all finished! 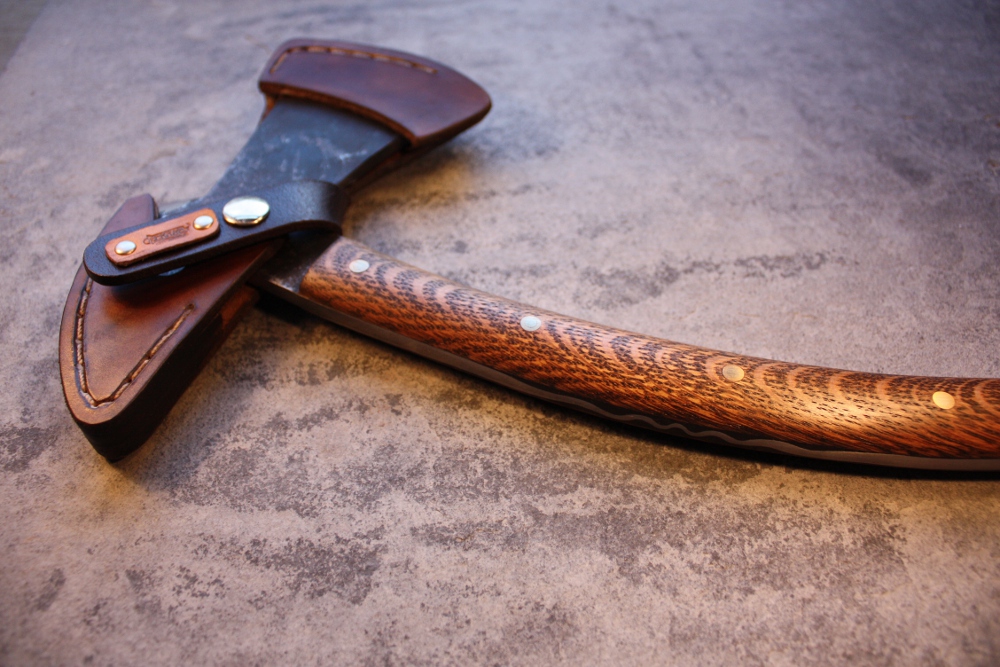
|
| I glued it together with contact adhesive and then hand stitched it using some heavy duty waxed nylon thread. I stained it medium brown then spent a couple of hours rubbing in dubbin - the heat from the fingers help it penetrate deep, giving a hard wearing waterproof finish. Then I carefully attached the nickle plated press stud and Ferraby leather stamp. Tested it in the garden - one flick of the thumb and its happy fun times! | 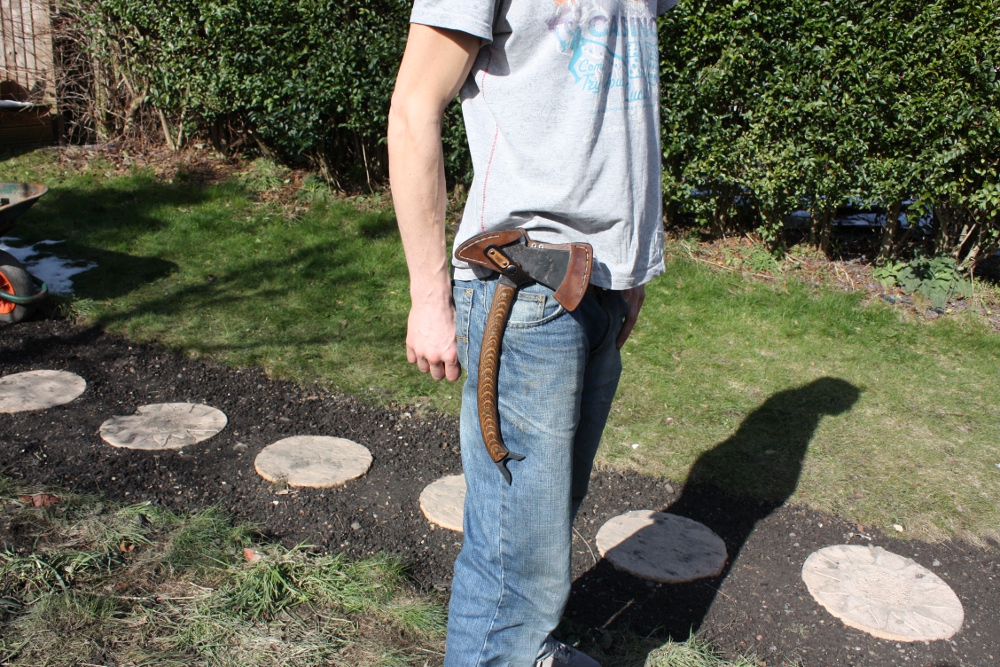
|